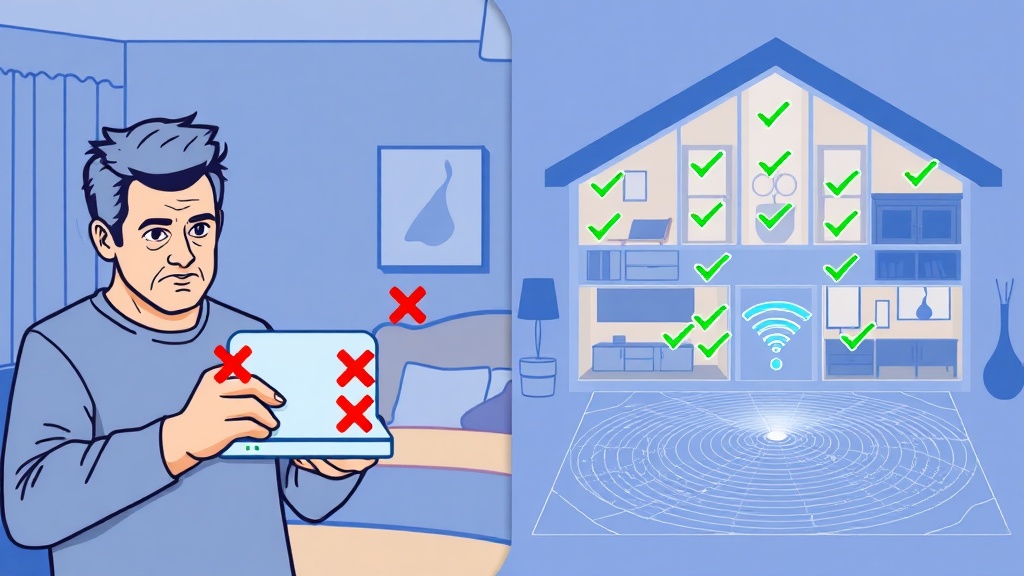
The Myth of "Whole Home" Coverage
Marketing boxes often claim "whole home coverage." This is misleading. WiFi signals are radio waves, just like FM radio or cell phone signals. They degrade as they travel. They bounce off surfaces. They pass through some materials easily and struggle with others.
A standard single router has a limited effective range. In an open studio apartment, one router might cover everything. In a two-story house with drywall, concrete, or metal studs, that same router will leave large areas with weak or no signal.
Think of your WiFi signal like light from a bare bulb. If you put the bulb in the centre of a room, it lights up the whole space. If you hide the bulb inside a closet, the hallway stays dark. Moving the bulb — or adding more bulbs — fixes the problem. Buying a brighter bulb helps less than placing it correctly.
What Blocks Your WiFi Signal?
Not all walls are equal. The materials in your home determine how far your signal travels. Understanding these barriers helps you place your router or mesh nodes in the right spots.
Drywall and Wood
These materials let WiFi signals pass through with minimal loss. A signal can easily travel through two or three drywall partitions with only ~3–5 dB of attenuation per wall.
Concrete and Brick
These are heavy blockers. Concrete walls absorb radio waves significantly — 10–30 dB of loss per wall. A single concrete wall can cut your signal strength by half. If your home has load-bearing concrete walls, a single router will rarely cover the whole floor.
Metal and Mirrors
Metal reflects WiFi signals. Large mirrors with metal backing, steel beams, or even large appliances like refrigerators can create "shadow zones" where the signal bounces away from your device entirely.
Water
Water absorbs radio frequencies. This is why your WiFi drops when you stand in the bathroom or near a fish tank. The water in pipes and even in your body interferes with the connection.
Why Central Placement Matters More Than Speed
Most people place their router where the internet cable enters the house. This is often in a corner, behind a TV, or inside a cabinet. This location is usually the worst possible spot for coverage.
When you hide your router, you block the signal physically. When you put it in a corner, you force the signal to travel through more walls to reach the rest of the house.
The best placement for any WiFi source is central and elevated. Put the router or mesh node in the middle of your home, on a shelf or table, away from large metal objects. This allows the signal to radiate outward evenly in all directions.
If you cannot move your main router because of the cable entry point, you need to extend the network. This is where planning becomes critical. You need to know exactly where the weak spots are before you buy an extender or a mesh system.
Stop Guessing — Map Your Coverage
Draw your floor plan in minutes and see exactly where your dead zones are. No sign-up required.
Try the Free WiFi Planner →How WiFi Planner Solves the Guesswork
Guessing where to place devices leads to frustration and wasted money. WiFi Planner removes the guesswork by letting you map your home first.
You can draw your floor plan in minutes. You mark the location of walls, windows, and large furniture. The tool then simulates how WiFi signals will travel through that specific layout. It shows you exactly where the dead zones will be with your current setup.
More importantly, it shows you where to place additional nodes or extenders to fill those gaps. You can test different configurations before you move a single device. This saves time and ensures you get the coverage you need.
What You Get
- Instant heatmap: Visual coverage map showing strong, moderate, and weak signal areas across your entire floor plan.
- AP placement recommendations: Suggested access point locations that maximise coverage while minimising hardware cost.
- Singapore-priced hardware: Specific product recommendations from TP-Link, ASUS, and Ubiquiti with current pricing from local retailers.
- No sign-up required: The tool is completely free — no account needed to generate your first heatmap.
For example, if you have a large living room and a separate bedroom wing, the planner might show that one mesh node in the hallway covers both areas better than two nodes placed in corners. It provides data-driven advice instead of marketing hype.
Mesh Systems vs. Extenders: Which Do You Need?
Once you know your coverage gaps, you need to choose the right hardware. Two common options are mesh systems and WiFi extenders. They work very differently.
WiFi Extenders
These devices catch your existing signal and repeat it. They are cheap and easy to set up. However, they often cut your speed in half because they use the same radio to receive and send data. They also create a separate network name (SSID) that you have to switch between manually. This causes dropped connections when moving around the house.
Mesh Systems
These use multiple nodes that talk to each other on a dedicated backhaul channel. They create one seamless network name. Your devices switch automatically from node to node as you move. This provides better speed and reliability, especially for streaming and gaming.
The right choice depends on your home's layout. A small apartment might only need good router placement. A large house with thick walls likely needs a mesh system. WiFi Planner helps you decide by showing you the signal strength required to cover your specific rooms.
You can also read our detailed mesh vs extender comparison for a deeper dive into the technical differences and Singapore pricing.
Common Setup Mistakes to Avoid
Even with good hardware, bad habits kill performance. Check your setup against these common errors.
1. Using the 2.4GHz Band for Everything
The 2.4GHz band travels farther but is slower and more crowded. Use it for smart home devices like lights and plugs that need low bandwidth. Use the 5GHz band for laptops, phones, and TVs that need speed. Most modern routers handle this automatically, but you can force it in settings if needed.
2. Ignoring Channel Congestion
In apartments, your neighbours' WiFi networks interfere with yours. If everyone uses channel 1 on 2.4GHz, the airwaves get crowded. Use a WiFi analyser app to see which channels are free and switch your router to a less congested one.
3. Blocking Antennas
If your router has external antennas, position them vertically. This helps the signal spread horizontally across your floors. Do not wrap cables around the router or cover it with books.